Two of my grand children have Leap Frog Explorers. (They call them their IPads! ) Recently, when Ezra spent several days with me, we decided to create a little carrying case to protect the "IPad" and hold his games. It's a quick and easy project.
I let him pick out two 5" charms from my recent I Spy charm exchange to use in crafting the carrying case. Not surprising, he chose footballs and baseballs plus black for the fabrics.
In case anyone else has a kiddo in need of a carrying case for his Leap Frog Explorer, I thought I would do a little tutorial of how I made this one for Ezra (and his cousin, Haven).
You will need: 2 charm squares--5"x5" each
4 background strips--5"x 2"
4 background strips--8"x 3"
2 lining rectangles--8" x 10"
2 strips for inside pockets--4"x 8"
1 strip for handle--2.5" x 8"
2 scraps of batting--8" x 10"
1/4 yd. sew-in velcro
Step one: Create a square in a square block for both the front and back of the bag by sewing the 2"x 5" strips to the top and bottom of of the charm square. Then sew the 3"x 8" strips to the sides to form the front/back.
Step two: Layer with batting and lining and quilt as desired. Trim the quilted front and back pieces down to 7"x 9" rectangles.
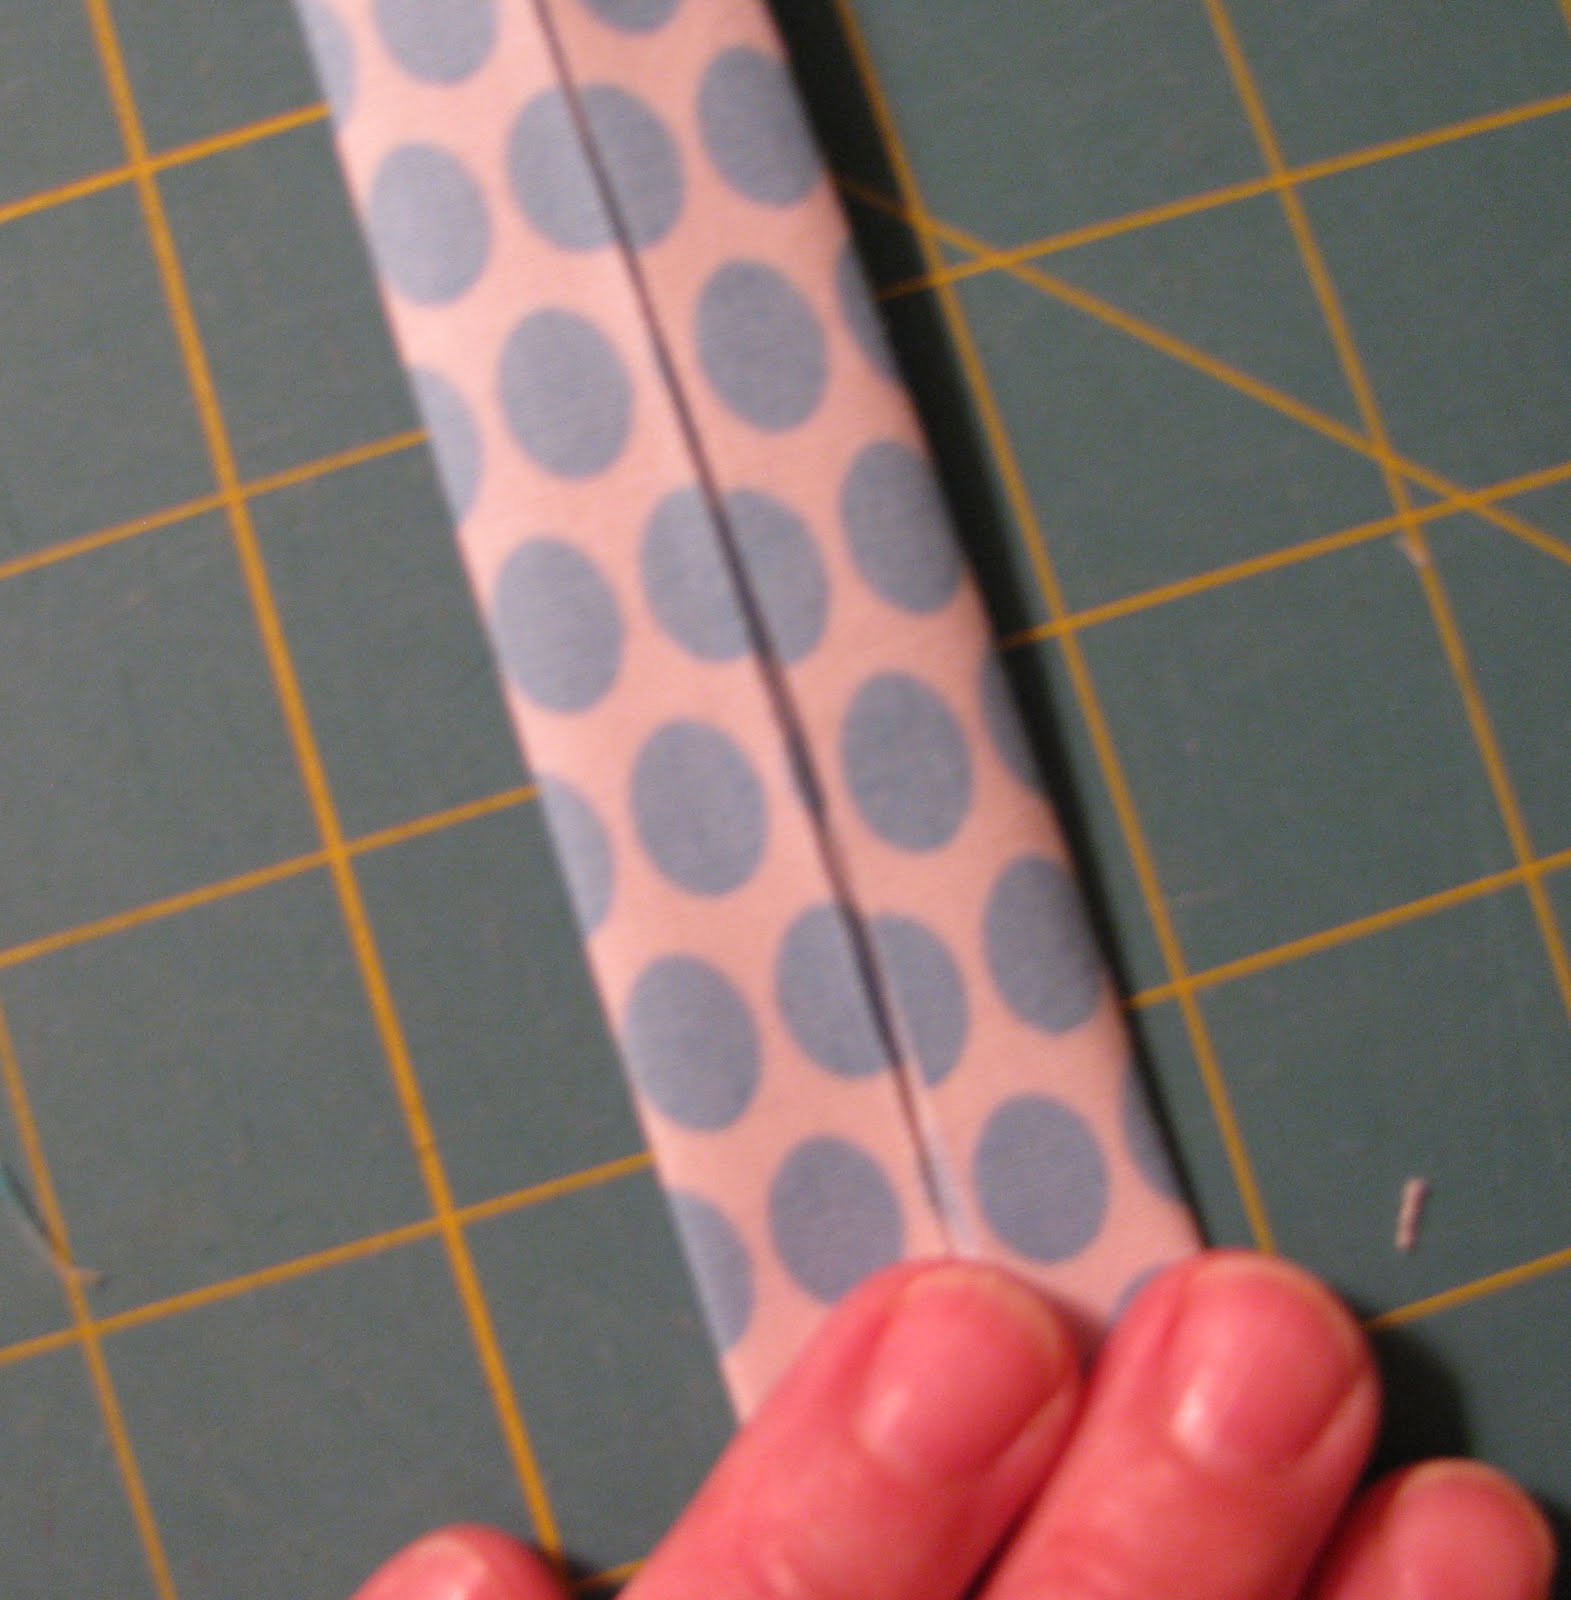
Step three: To make the handle, fold the sides of the handle strip to the center, then in half. Topstitch.
Step four: Fold pocket fabrics in half lengthwise and stitch a 1/4 inch seam along the edge.
Turn and press.
Step five: Fold in the pocket ends. Place the pockets on the lining, 2.5 inches from the bottom. Stitch along the sides and bottom of the pockets. You can make 3 little sections in each pocket for holding games, by stitching 2.5 inch from each end. (Use bobbin thread that will blend in with the quilting on the front of the bag.)
Step six: Attach the handle from step three onto one side of one bag part as shown. Be sure that you are sewing it onto the front side rather than the lining side of the bag.
Step seven: With right sides together, sew around the sides and bottom with 1/4 inch seams. Finish the seam with a zigzag stitch.
Step eight: Now make a mitered corner on each end of your bag by folding the bottom seam to the center of the side seam and stitching across the end about 1.5 inch from the corner, as shown below.
You are almost finished.....turn your bag right side out!
Step nine: Fold down 3/8 in. along the upper edge of the bag. Sew velcro along both inside edges of the carrying case.
Look! You did it!!
Be prepared for requests for more games to fill those little pockets!
Awesome!


Cute! I'm sure they are really useful!
ReplyDeleteGreat job Grandma!
ReplyDeleteLove your tutorial Carla! I don't know any kiddos with Leap Frog Explorers but I might have to meet some....
ReplyDeleteLove it! Great idea and thanks for sharing, Carla. My little guy has the Leapster 2 and it needs a case - adding it to the list of things to do!
ReplyDeleteThis comes at a perfect time, since you just recommended a Leapster for Charlotte!
ReplyDeleteGood idea!
ReplyDeleteSo cute!! I'll be in Charlotte next week and I've planned a project with the grandkids too.
ReplyDelete