Everywhere I look, the splendor of autumn surrounds me as drive to and fro each day. I always am amazed at how gorgeous fall can be, making me almost forget that winter comes next! October is my second favorite month, falling only slight behind June with it's equally brilliant display of flowers.
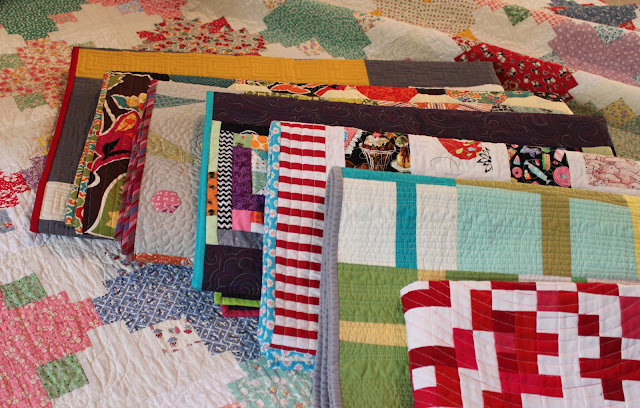
Autumn also means that it's quilt show time around these parts! Yep, it is time to drag out my handiwork and attach those dreaded hanging sleeves to the tops of each quilt that I'm entering in the show. This year, that would mean 8 sleeves. Ugh...Being lazy, I decided to use my sewing machine to baste the sleeves onto the quilts. After all, it's only a temporary addition that I will be removing from most of them, so why not make it as painless as possible! So, last night, while listening with one ear to the presidential debates, I got most of the dreaded deed accomplished! Here's my method:
Make a strip of fabric 8.5 inches wide X the width of your quilt by sewing sections of muslin or any inexpensive fabric together. I used some white-on-white stuff that I found in my stash. Fold back about an inch on each end and sew down.
After pressing the fabric in half lengthwise, wrong sides together, sew along the cut edge making about a quarter of an inch seam.
This next part is where I took the liberty of doing a shortcut method: I used a long basting stitch on my sewing machine to attach the cut edge of the sleeve to the top of the quilt as shown below. Use pins to position it about an inch from either side of the quilt. You will baste stitch right on top of the seam you just sewed in the step above. Back stitch carefully at each end to make sure it is secure.
The sleeve will be folded down after it is sewn...
...to create a 4 inch sleeve on the back of the quilt so that it can be hung from a rod.
Now, I'm not advocating that you do this for a quilt you are entering in, say, the International Quilt Festival or anything like that. But for my local quilt show, those tell tale basting stitches on the front will be at the top where no one but a 9 foot giant is going to see them! (Normally, you would attach this part with a blind stitch or, even better, along with the binding when it is sewn on.)
I quickly hand sewed the folded edge of the sleeve to the back with large stitches. Nothing fancy. I got three quilt sleeves hand sewn while watching the news last night, so it goes pretty fast. Be sure that your thread is buried into the batting and doesn't show through to the front.
By the time I've sat through the weather and sports tonight, I should have all of these guys ready to go.
But, right now, I think Ginger and I will go for a walk and enjoy the show outdoors before the wind blows away God's handiwork!
Nothing can compete with that!


That's a clever tip. I've never hung a quilt but there's a first time for everything so I imagine I'll use this eventually. :-)
ReplyDeletePS - your autumn photos are gorgeous!
I've never used hanging sleeves so I will ned to come back to your post one day.
ReplyDeleteGod's handiwork is beautiful, isn't it?
I, too, love autumn! Where is the quilt show. . .or have I missed it?
ReplyDeleteNow you're making me really miss autumn! It's so beautiful!
ReplyDeleteGreat sleeve-sewing tips. You're right; they won't work for a big juried show, but this method is a winner for the regular guild shows. Thanks for sharing.
Good tips. I hate sewing on sleeves for quilt shows. I will be sewing a sleeve on today for a quilt that will always need a hanging sleeve. So, it's going on with the binding.
ReplyDelete