

Two words..... Partial seam. That's the secret to making these fun blocks! Since several have inquired about the construction of the blocks I recently made for my 3x6 Block Party Bee, I thought I'd work up a little tutorial just in case you'd like to try making a block with a partial seam. It's easy peasy, I promise!!
 Linda tried to help me with the name of this lovely block and found a similar block, but without the sliver of fabric separating the sections, called Bright Hopes. I'm calling my block Bright Hopes Whirligig.
To make a 9 inch block you will need 4 rectangles 3.5 in. X 6 inches, 1 square 3.5 in. X 3.5 in., and 4 strips 1 in. X 3.5 in.
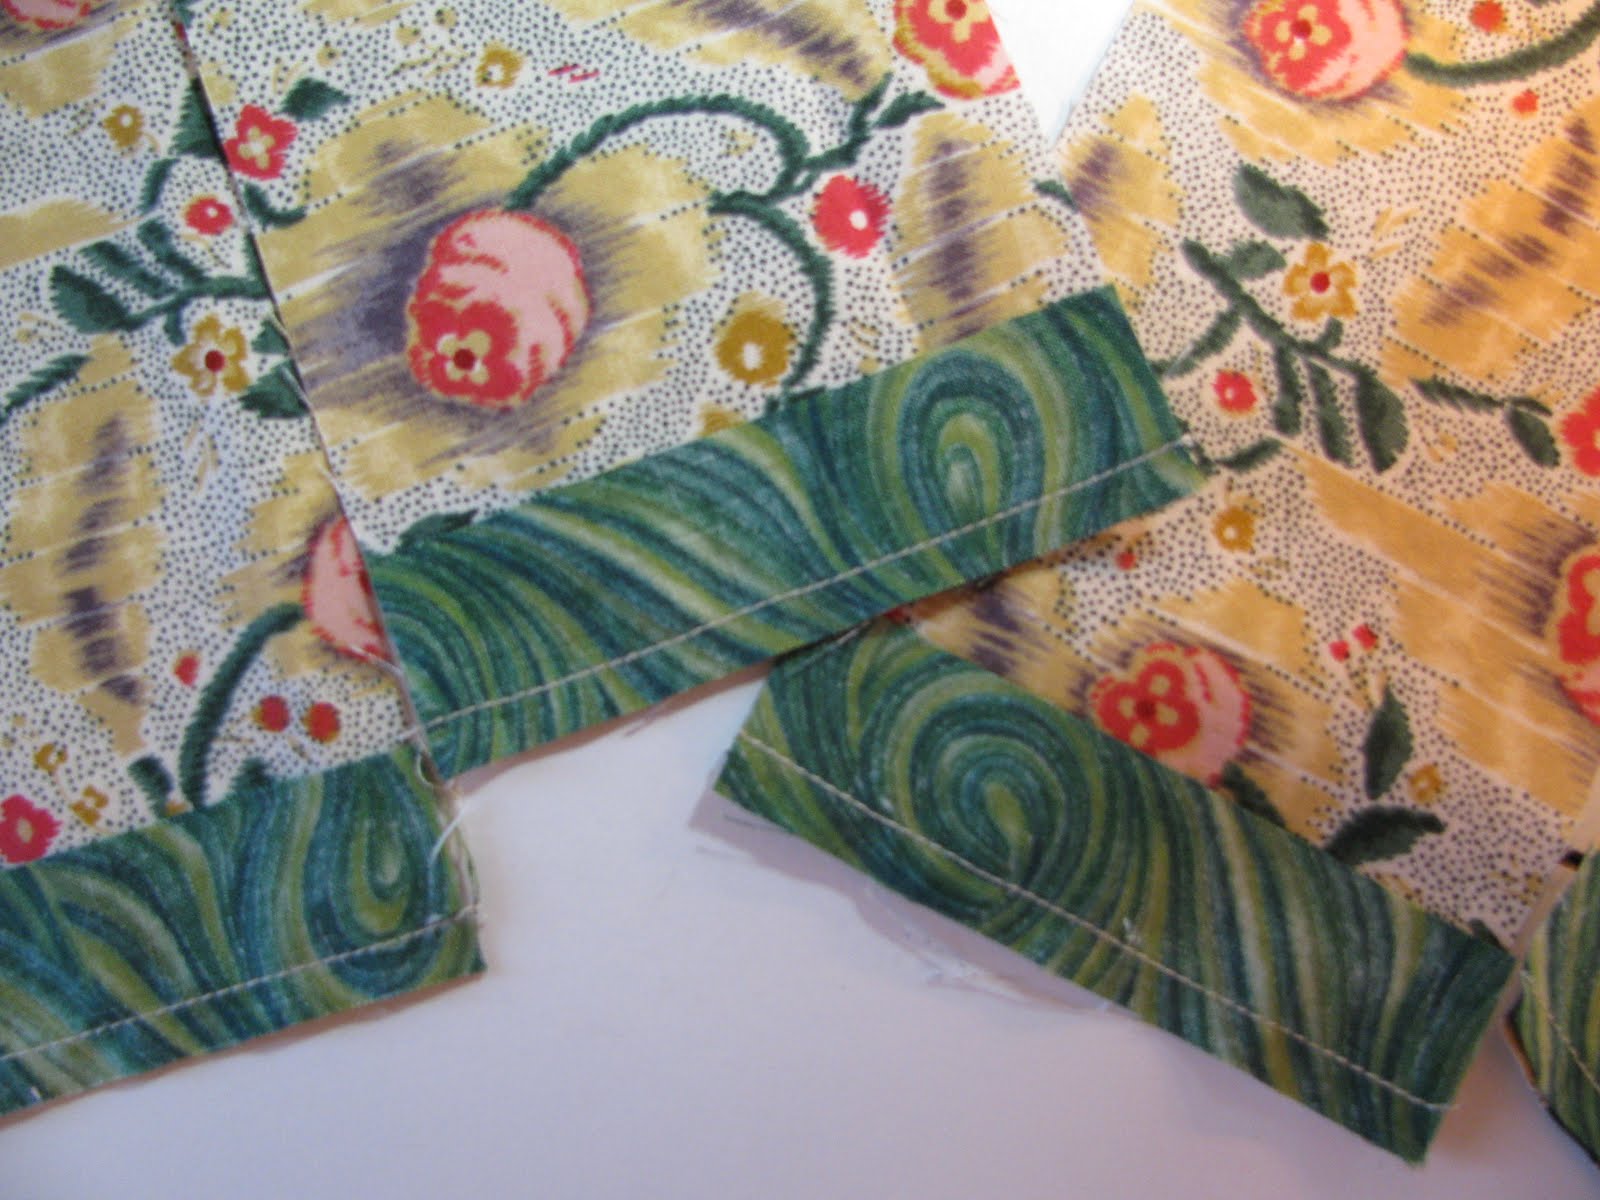
Sew the 1 inch strips to one end of each rectangle. Press seams toward the strip.

Next, lay out your block next to your sewing machine to help you keep the piecing in order.

Take the center square and flip it onto one of the rectangles with right sides together. Stitch from the edge stopping about half way across the square.


Now work your way around the block attaching all the other rectangles to the center square with complete seams. Finger press the seams toward the center block as you go. (You can give it a good press at the end with your iron!)

When you get to the fourth rectangle, you will be able to sew it onto the center square because the partial seam in the first rectangle leaves it "flopping" open.

Complete the partial seam by sewing to the end of the attached rectangle.

Press the seams toward the center square.

The nine inch blocks can be set side by side or bordered with two inch strips to make 12 inch finished blocks as in the first picture. See, I told you, it was easy peasy!!


That's a great tutorial...I'm going to have to try it! Thank you!
ReplyDeleteYes, it does look easy. I liked the block when I saw it on your blog previously. Thanks for sharing.
ReplyDeleteVery nice tutorial. Thanks
ReplyDeleteLovely tutorial! I am definitely going to try this some day. It seems so difficult but you have made it look quite easy.. Thank you for sharing!
ReplyDeleteIt's a super tutorial! Thanks! And I love the name.
ReplyDeleteThis is a great tutorial and I like to make one of these too.
ReplyDeleteWhat a great tutorial, and such a great block! Would make a cute baby quilt!
ReplyDeleteSo cute! And such a good tutorial. Thanks so much for sharing!
ReplyDeleteAm very eager to try this. I've got just the right fabrics in my massive stash
ReplyDeleteBonito, diferente e fácil. Fiz e adorei o resultado.Obrigada por compartilhar.
ReplyDeleteI made this block using your measurements and ended up having to trim the rectangles.
ReplyDelete