Showing posts with label selvage block tutorial. Show all posts

Wednesday, July 30, 2014

Material Obsession

 As a little girl I often visited the quaint Pea Green Store back when it was still a little grocery and general store. It seemed the perfect place to take photos of my latest finished--the selvage quilt. I'm calling it Material Obsession.
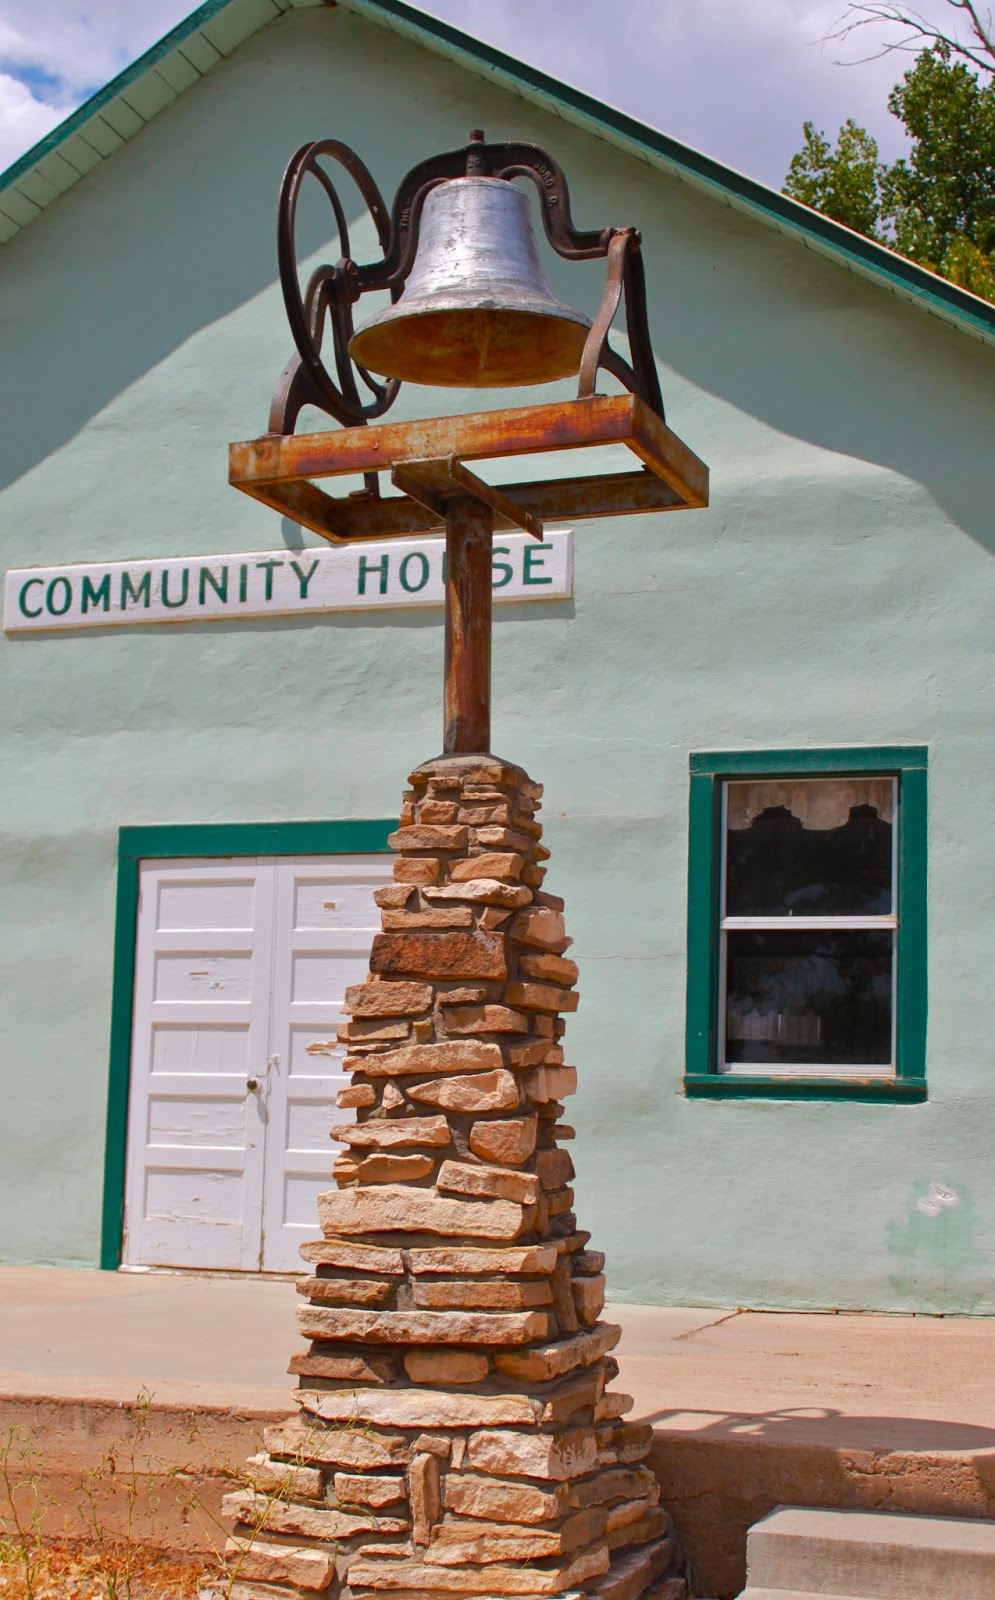
Only if you grew up near Olathe or Delta, Colorado, would you even know that there was such a town called Pea Green. My mother attended grade school across the street in the now-abandoned brick Pea Green School. (Someone has since converted it into a house.)  The only other buildings in town are the Community House, where my parents used to attend dances, and an old run down house.
No one was manning the junk store, now housed inside the Pea Green Store, so my husband and I had fun using the building and old truck parked outside as a prop for photos of my quilt.
Peeling paint is one of my favorite backdrops for photos and there was no lack thereof. 
The few farmers who drove slowly by while we were shooting pictures probably wondered what were were up to, but nobody cared enough to stop and ask.
The back of my quilt is as cheerful as the front. I used a fabric called Wildflowers, in lime green, from the High Society line by Modkid. Yes, it came from JoAnn's and is one of their high quality (and-pricy-without-a-coupon) fabrics. I bought it because I did have a coupon!
 From the back, the straight-line quilting shows up well. Because the selvage blocks were all made on muslin foundations, I used Mountain Mist Light batting thinking that polyester would help to make the quilt not so heavy. It's a little poofier than I like, making me wish that I had just used a layer of flannel instead.
 Here's a good shot of the back showing off the big chevon X that I top-stitched onto the backing fabric. I wanted to mimic the X's on the foundation pieced blocks.
 I ran out of the black and white zig-zag Remix fabric, by Robert Kauffman,  when I only had a few blocks left to make. You can imagine how excited I was to find enough on-line for the binding as well!
 My quilt measures 60 inches by 72 inches and is the perfect size for wrapping up in on a couch.
 Finishing the binding on the long car ride from Missouri to western Colorado, I found it great entertainment to admire and read the selvages as I sewed and cuddled with the quilt! Probably only someone truly "obsessed with material", like me,  would think so, I admit!
I don't recall for sure, but wouldn't be surprised to learn, that the infamous Pea Green Store once sold fabric up those old concrete steps!
 Instructions for creating my selvage blocks can be found here. Apparently it's not just me that's become addicted to fabric and quilting. I might need to check the roster of Quilters Anonymous to find out if my husband might be a secret quilter? Could yours be one, too? 
 We'll find out August 1!

Thursday, April 3, 2014

Get Creative With Selvages

Only have a few selvages? No reason to wait till you have a whole basket full to have some fun. Get started with something small like this little name tag.
This was actually an old name tag that I repurposed with selvages. I just top stiched some selvages in a chevron pattern onto the muslin base and used selvage to bind it. Use any sweet pin you might have in your jewelry box to fasten it on.
 A potholder or rug mug is a great way to get started sewing with your saved selvages.
To make this one, I began with a 4 inch red square centered on top of an 8 inch muslin square. Lay this on top of a piece of Insul-bright or quilt batting. Begin stitching down selvages on either side of the middle square, simply stitching on the bound edge and then laying the next selvage over the raw edge of the one above it. When you get the first two sides finished, rotate and do the same thing on the other two sides, which will take longer selvage strips. Since you are stitching through all of the layers, it will be quilted as you go. 
 If your selvage strips are at least 1.5 inches wide, you can also use them for the binding just as you would bind any quilt. Here's the back of my pot holder. You can see the colorful fabric as the binding. I also did a little extra quilting to hold my backing onto the pieced front before I bound it. (Add as many layers of batting as you want to pad the holder.)
 On the front, you can see that I machine stitched the selvage binding down, folding under the corners.
 Making a pin cushion is another simple selvage project that only takes a few selvages. This one was made for me by my blogging friend, Cindy of Live a Colorful Life. She pieced together selvages to create a one of a kind personal touch just for me. Isn't it wonderful! As you can see, she used piping around the edges much like you would to make a pillow.
 The sky is the limit on quilt block patterns that can be used with selvages. Just create "fabric" with the selvages and then piece your new cloth into a a quilt or smaller project like this pillow top. Here is a tutorial for making this particular X-block pillow, if you are interested.
 Create fabric with your selvages to make any zipper bag or purse. Here's one that I made using a free make-up bag tutorial by Noodlehead.
I made the back of the bag with a solid piece of fabric, but it could be made of selvages also.
Zipper bags are wonderful for storing and carrying just about anything. You can't have too many!
You will have to collect quite a few selvages to make a quilt, of course. But, once your friends start hearing that you are using selvages, they will start gifting them, I'm sure! You can find the tutorial for my selvage quilt here.Yes, I'm still working on it. (Some of you know that my hubby thought that my selvages were trash and threw them all away, so I had to start going through my stash and cutting off more! I finally can laugh about it now!)
 I'd love to make a spiderweb quilt using selvages for the strips. I better finish this one first, I guess...but just imagine the strips as selvage and you get the idea of what it would look like!
 Friday I will finish up my week of selvage posts with a super easy no-sew project along with some other very quick to sew ideas.
Have I tempted you to start collecting yet? Be careful, you might even start buying fabric just because you like it's selvage!

P.S. I'm linking up with Live A Colorful Life for Really Random Thursday. Check it out!

Tuesday, July 30, 2013

Save the Selvage

Well, it's almost the last day of July and instead of a "finish" to show you, I"m reporting on a new start! Oops!!
I've been saving selvages in 2 plastic Animal Cracker jars for several years now. The jars are packed full so when I fell hard for this quilt by Jodi on Pleasant Home blog, I knew just what I wanted to make with my precious selvages. (In case you wonder, I try to add at least one inch of "color" when I cut off my selvage from the yardage.Some are less. Some are more.)
Because i figure that you might like to make some of these easy-to-do blocks, I thought that I'd show you how I'm making mine. First, dump out all of your selvages into a basket or other large container that you can rummage through.
Pick a fabric to use for the center strip on each block. This fabric will create an on-point frame around each diamond shape once the blocks are set together. Cut the fabric into 1.5 inch strips. (A yard should be enough to make a lap size quilt.) I almost chose the red dot, but ended up using the black and white chevron below.
This is a foundation pieced block. I am using premium musiin, cut into 6.5 inch squares for the foundation. You could also use paper if you don't mind ripping it off after stitching. Center the one inch strip on the diagonal of a foundation. Cut the strip so that it extends over the end of the foundation square a bit. Pin if necessary. 
Now for the fun part: Pick out some selvage fabrics with the lots of writing or dots to lay next to the center strip.Cover the center strip on each side with the selvage leaving a half inch of the strip showing. Trim the selvage so that it extends past the muslin on each corner. I usually pin this first strip to keep it straight. Stitch close to the edge of the selvage. (You might want to stitch again on the other side of the writing if the selvage is one with a frayed edge.)
Continue to lay selvages on either side of the middle diagonal fabric strip and sewing as described above until the muslin is completely covered. Now,flip the block over and trim it to the muslin size using a rotary cutter and square ruler. (Note:Your foundation might have "shrunk" a bit from the stitching so be sure that you are cutting the block to the desired size. In my case, that is 6.5 inches.It is okay for the selvages to extend beyond the foundation base a little.)
Four blocks sewn together will create the X in the middle. Mine will measure 12 inches finished. I  plan to make 30 of these to create a quilt, 60" x 72". 
These things are incredibly addictive to make, I'm just telling  you now! Have I tempted you?!