Wednesday, April 28, 2010

Selvage Pillow

Today I combined two of my latest favorites.............selvages and the X-Block.  Add some kitchy pom-pom fringe and a lovely Amy Butler Charm fabric and look what I dreamed up!  Love. Love. Love! 
 I've been saving selvages for a awhile now but didn't have any certain project in mind. Then one day, Jacquie showed up a KCMQG with a stunning selvage spiderweb quilt. I was smitten to say the least. So, that's been stewing in the back of my mind.

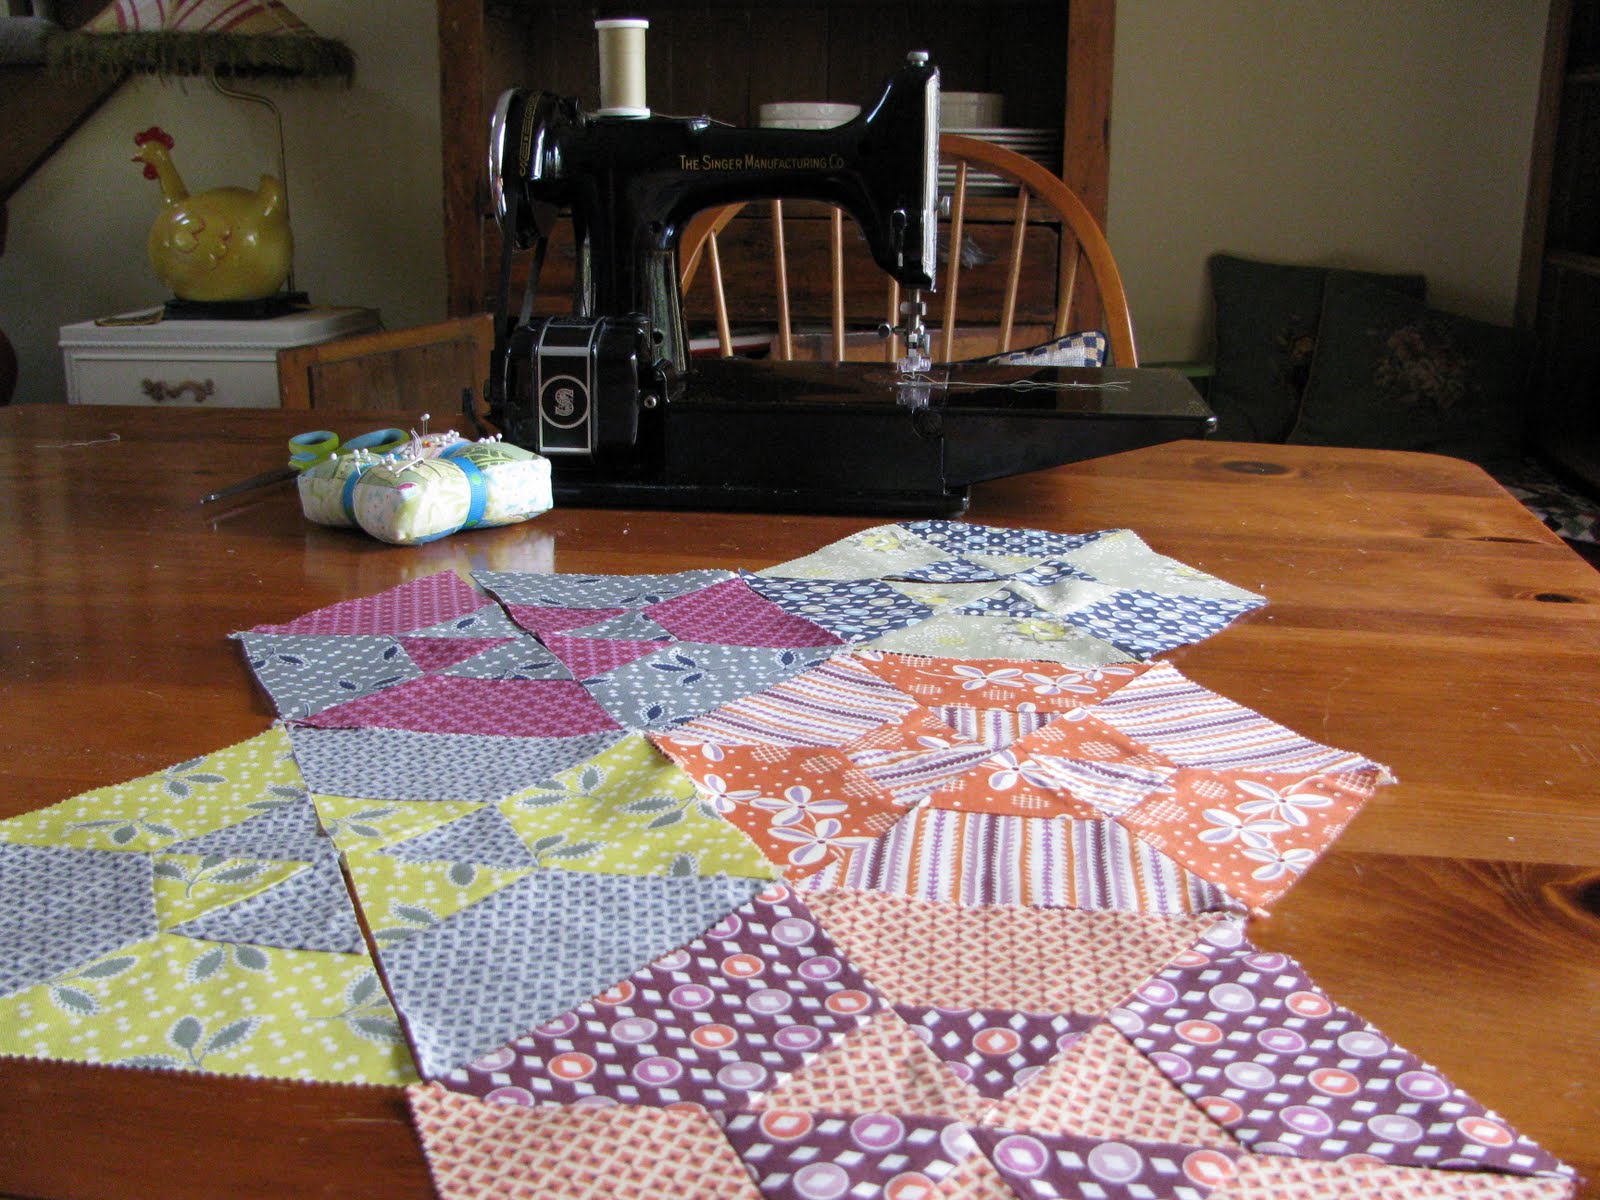
The X-Block quilt I have been working on is turning out to be one of my favorites.  I'm finishing up the binding now and will show you the completed quilt in a few days.  While I was petting the fun quilt this afternoon, a light-bulb went off and you're lookin' at the results!
Bonnie Hunter of Quiltville has a great tutorial on how to make the X-block. Go here to get the instructions. I used these instructions with a little tweak that Sherri dreamed up to make the scrappy quilt I'm binding. 


Using old phone book pages as foundations, here is how I made the pillow block with selvage  pieces instead of scraps of fabric.
Starting in the middle of the paper lap two woven edges and top stitch.


Then, continue lapping the woven edge of a selvage piece over the cut edge of the previous piece and top stitch.  Work from both sides until the paper is filled.  Try to have your last piece on each end be fairly wide.


You will need four foundations to make a pillow. 

Trim the selvage filled paper to 3.5 X 10.5 inches.


Here's what it looks like on the back before trimming.  Remove the paper from all four strips.  The phone book pages come off quite easily.


Isn't this just the cutest thing?  So much to look at.............I love all the titles...Good folks..
Bird Swing..Plume...........     Oh, my!


After attaching the side strips according to Sherri's great tutorial, here's what I had.


I added the side triangles according to the directions and sewed the four blocks together to create an X. The Charm fabric was purchased on a clearance shelf several years ago......just waiting for the right project!  I already had the pom poms also...they were supposed to go on some curtains.  Oh, well
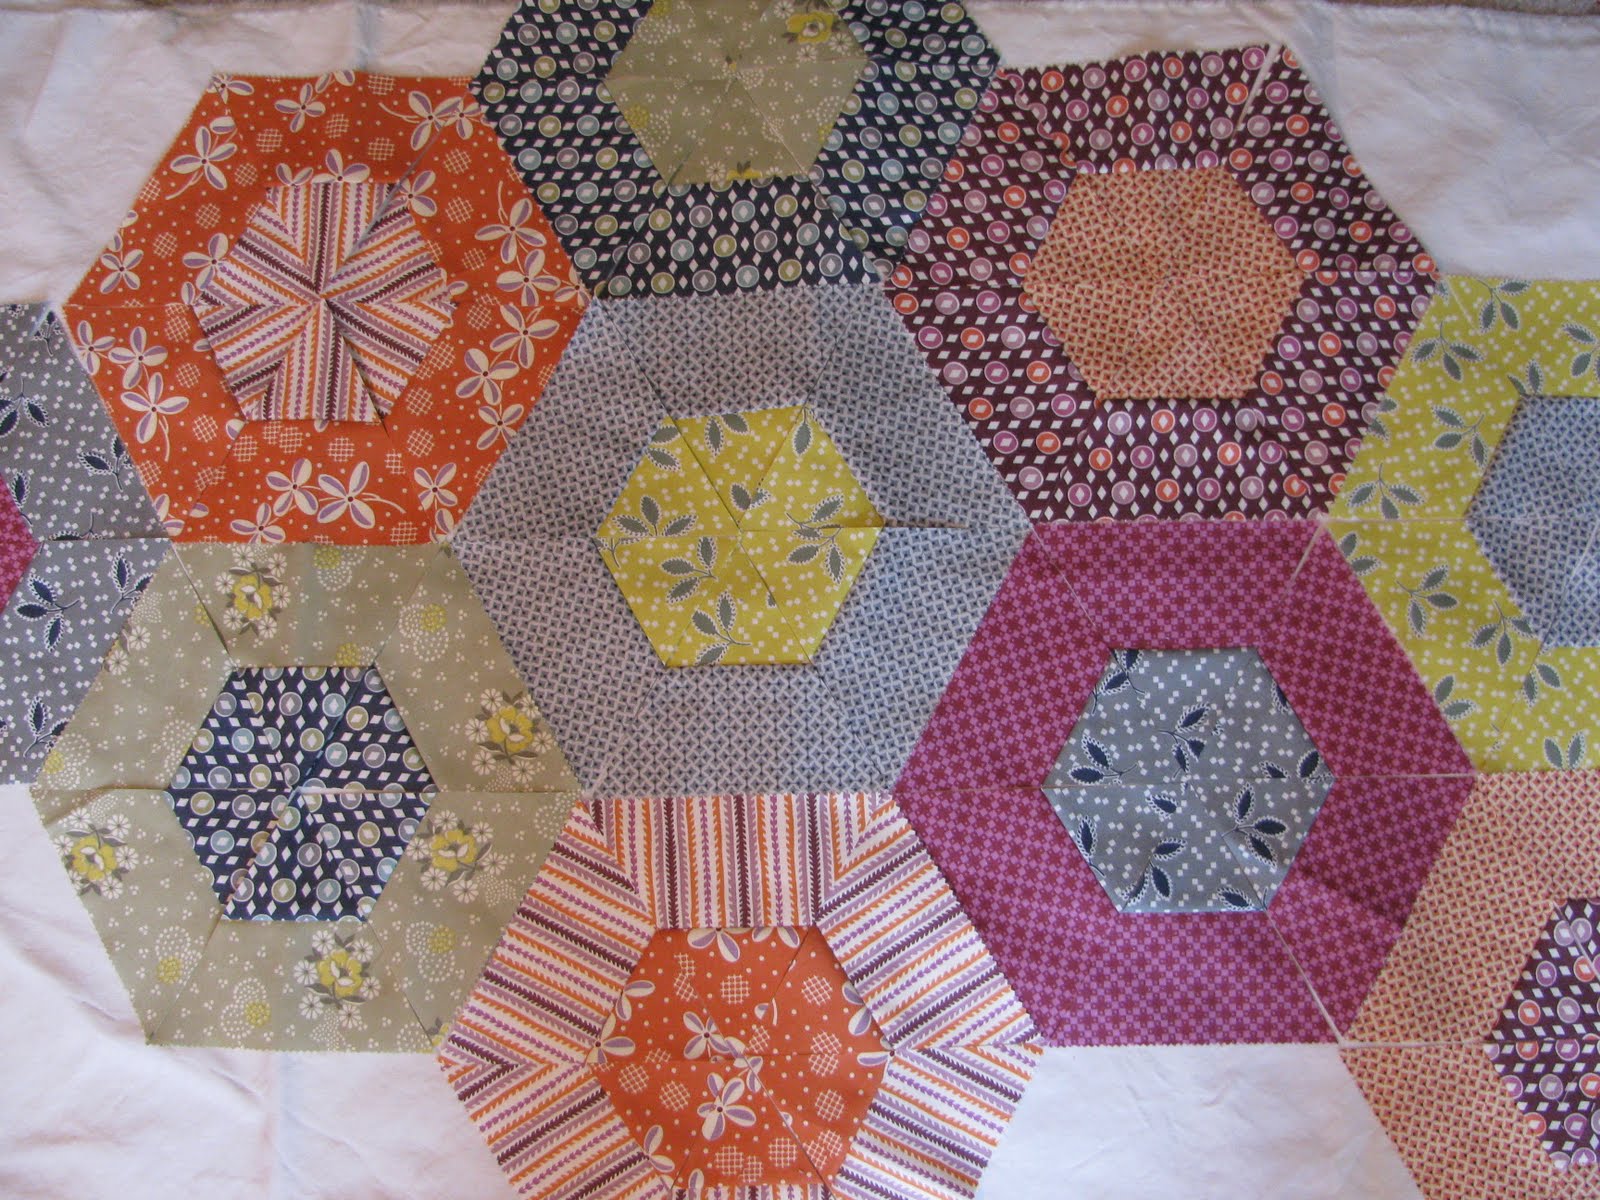
Wouldn't a matching quilt be awesome?!

Friday, April 23, 2010

Sisterhood of the Traveling Tablecloth

Are you one of those lucky quilters who has a special "Design Wall" built especially for you to arrange your quilt blocks on while you are creating a masterpiece? Maybe it's made out of flannel, wrapped around insulation board and glued to the wall with liquid nails. I used to have one like that.  But then we moved. Ahh....I dream about that wall sometimes. Maybe someday....

In the meantime, I belong to the Sisterhood of the Traveling Tablecloth.  I't not so bad really.  In fact, I kinda love it.  Even if you enjoy one of those above mentioned "Design Walls", you might consider joining the Sisterhood.  One big plus.....you can have as many tablecloths as you want and it's not going to bother anyone or take over the decor of your home.  You are confused? Why would you want a bunch of tablecloths, especially those tacky vinyl ones like I use?  Only those in the Sisterhood know the secret.  You want to join, you say.  Okay, then.  Here's the deal: 

The backside of a vinyl tablecloth is made of flannel.  The tablecloths come in all sizes.  Lay the cloth out on your floor near your sewing area or hang it on the wall with tape or tacks (if you dare). Use it like you would any design wall to lay out your blocks and play with them.  When you are finished for the day, just fold it up and the blocks are there to stay.  I promise.  They won't budge!  When you unfold it the next time you sew, the blocks will be right in the exact same spot, just waiting to play again. 


 I have several tablecloths with blocks laid out ready to sew into quilts.  I can take them anywhere, which is what I really like the most about this method.  It is especially handy for sewing circles and guild sewing days. In fact, I try to never be caught without my tablecloth.
After all, that's the secret motto of the Sisterhood of the Traveling Tablecloth! (Now you know all of our stuff!)


What kind of "design wall" do you use?

Tuesday, April 20, 2010

Busy Bee


This time of year I feel like a
busy bee.....so much to do, both outside and in.


  Ahhh, but I just want to sit back and enjoy the flowering trees and bushes, admire the freshly mown grass, smell the lilacs and sip on an iced tea.

It's hard to find the right balance.
Today was no exception.


I live in the country and my house is surrounded by woods on three sides.  Tall trees block my view, many covered with vines so long that they have twined themselves to the very tip top branches of the walnuts and locusts.  In the spring, we have to work fast to pull down the vines and clear many of the fallen limbs and downed trees that litter the woods near the house.  Soon it will be too dangerous to walk among the trees because of the dreaded poison ivy that grows so profusely. My husband is very allergic.  So far, I've never had the hives that can torture but don't want to press my luck either.  Sunday, we played pioneers as we cleared the land.  Yesterday and today, I've returned to safer work at my sewing machine!


I have several projects going right now.

First up, I am quilting my X-Block scrap quilt with straight line quilting and the walking foot on my Bernina machine. 
This is my first experience with sewing line upon line across a quilt like this.  I'm loving the look even thought it is a little time consuming.  Rather than mark the quilt, my pressure foot is the guide. Not perfect, but I'm liking it.


Over the weekend, I finished making fat quarters from the vintage sheets found at a thrift shop. There was also one awesome pillowcase that I couldn't pass up. They are ready to mail for the Vintage Sheet Patchwork Swap.  I'm hoping to get some wonderful vintage fabrics in return so that I can make a quilt like this one or maybe this one.  So fun!


Taking the walking foot off and on my Bernina is as much fun as washing windows.  I avoid it.  So......instead, my little Singer Featherweight came in handy today during my granddaughters' naps.  I was able to finish Step 2 in the ORB Hexagon Quilt-Along.  Aren't they cute?


My Leader and Ender project right now is a blue coin quilt I'm getting ready to make.  I use leaders and enders and chain piecing  to create scrap quilts without adding extra time or effort to my sewing,  I call them my "free" quilts.  I'll tell you more about that concept soon. Look how the "coins" are beginning to pile up.....I should have enough for the quilt soon!


Are you tired yet?  I am!!

Last, but not least, I want to show you the six lovely blocks I received from the first quarter of an online Block Party Bee that I belong to.  Each of these blocks was made by a different quilter from, literally, around the world! The bee is called the 3x6 Sample Quilt Mini Bee because each participant makes 6 blocks of their choice and has 3 months to make them.  The blocks are to be all the same pattern, but each made in the colors chosen by the participant.  My colors were green and aqua, as you can see. I am so tickled with the blocks that were painstakingly made for me by gals from Australia, Germany, England, Oklahoma and North Carolina. The second quarter began in April and I'll soon be showing you the blocks I make for 6 different quilters. First, I need to choose a block.  Meantime, feast your eyes on these beauties!

This busy bee is going to get a glass of iced tea!  Join me?

Sunday, April 18, 2010

KCMQG


The Kansas City Modern Quilt Guild is growing!  We have already had to change locations to accomodate the popularity of this new guild.  Last Thursday night found us gathering in the Roeland Park Community Center, our new home. On the program was the greatly anticipated "reveal" of the Project Plume quilts.
Several months ago, Jen, aka Tula Pink (heard of her?) handed out 35 charm packs of her latest fabric line called Plume.  We could add just 1/2 yard of fabric (plus backing and binding) to create a quilt. Oh my, the creativity in that room is unmatched anywhere.  I've never been involved in a guild where there was more excitement over a "challenge" project like this.


This picture shows just half of the wonderful creations made from Tula Pink fabric.  Tula, herself, even made a quilt with a tree theme. (Can you spot her?)  I'm a  lucky duck to live close enough to attend this exciting new guild.
If you don't have a modern quilt guild in your city, maybe you should consider starting one up!


My entry was made with half-square triangles set in a around-the-world design. I quilted it with straight lines to emphasize the diamond shape.
Quilt guilds were the best invention, don't you think?

Friday, April 16, 2010

A tisket, a tasket...

...a red and yellow basket.
I made a block, for my friend,
and now I really want it!(singing)


If I want to keep her for my friend, I guess that means I will have to make another one for myself, huh? That's okay.  I'm only teasing, you know!  Tracy has the month of April for her blocks in the Nittany Block Party I belong to.  She mailed us fabric to make two improv blocks of our choice.  We could add any fabrics from our stash that fit into her color scheme of yellow, red and black.  I added the background and dot fabric.  The idea for the baskets comes from Gwen Marston in her latest book, Liberated Quilting ll.  There has been lots on the internet about this wonderful book.  I hope that you have seen a copy by now, and maybe even own one like I do.


For her companion block, I again sought out Gwen's instructions on how to make a wonky star.  It's  pretty cute, I think!


I'll be mailing these little gems to Allentown, PA just as soon as I can quit petting them!

Wednesday, April 14, 2010

Hexagon Quilt-Along

Sitting on a shelf in my sewing room, the jelly roll kept winking at me. Beside her, the three half yard cuts whispered my name.  Then the charm square pack started throwing spit wads. What's a girl to do?  I turned and looked. My 3 bff's were holding up signs that said, "Go ahead, you know you want to!"
So I did.
I grabbed the jelly roll named Hope Valley, fired up the computer, found Jaybird's post about the Hexagon Quilt Along and got busy.  Old Red Barn hosts a different quilt-along every few months.  I've been watching, but never joined in.  Till now. 
The Hope Valley fabrics are just old fashioned enough to be perfect for this pattern.  I've been hoarding  saving them for just the right project. Having never made this block before, I thought I would need a special ruler.  Wrong.  My 8in x 24in Cut Right ruler had the 60 degree angle I needed printed conveniently and conspicuously right in in the center of the ruler.


No need to buy another ruler this time!


After sewing my strips together, I was ready to cut.  I was really hoping that I wouldn't mess up my precious fabric.  The HV charm pack kept staring at me from the shelf, hoping the same thing!  Not to worry.  It was easy.  With a little swivel of the ruler my triangles were quickly cut.


Look how pretty they look all cozied up together!  I'm ready for the next step.  If you've been wanting to join a quilt-along, why not join me (and about a thousand other people)
Here's the supply list and flickr site.


Now if my Hope Valley friends will just keep it down over there, maybe I can get some sewing done!

Friday, April 9, 2010

Liberated Cross Blocks


 Blame it on my friend, Joan.  I'm starting another quilt!  I just couldn't resist when she put out the broad invite to join her at Wishes, True and Kind in a quilt along with Heather from A La Mode Fabrics. Her fabrics and blocks got me from "virtual hello".   Once I was hooked, I realized however, that I didn't even know how to make the  cross blocks for the mini quilt along. She and Heather are going by a pattern that I don't have. But, hey!  In my effort to be more "liberated", I have decided to just wing it!  What follows is my rendition of the cross block and how I am making them.  And Joan is right..............They are ADDICTIVE.  Good thing they don't contain calories!!

I've been collecting some solids from Kona and Moda and decided this project would be perfect for the yummy greens, aqaus, yellows and white that keep showing up in my solid container.
First, I had to decide what size to make my blocks. For fun, my blocks will all be the same height but vary in width. I cut my fabrics 12 inches high and "whatever" width, layering two fabrics when I cut.


Next step was to make two cuts across the "middleish" of the block, making the cross bar. No measuring allowed.  Just eyeball where you want the cross on the block.


Seperate the top and bottom from the middle section and eyeball two cuts on each to create the vertical cross bar.
Note: I did not cut through the middle cross section. So, there are now 7 patches to this block. Because there are two layers of fabric, I have cut two blocks at once.  Now, for the magic:


Carefully remove the top fabric from the "cross" sections and place the 3 parts next to the original block forming a cross. In this case, the parts are aqua, leaving the white underneath cross behind.  Now, move the white underneath fabric from each of the four remaing sections and place them on the second block, being careful to keep each in the same positon.


PIn and sew the upper sections of both blocks together.  I placed a pin in the upper cross section next to the middle to mark it's postion on the block.( I think you can see the pins in the picture if you look carefully.)


Now, sew the bottom sections together in the same way, being careful to keep the parts in the correct postitions. The pin  markers help to do that.


Pin the upper and lower sections to the cross bar, centering them and sewing together. I pressed all the seams open when making this block, by the way. Note: The upper and lower secions will be shorter than the middle cross bar.  Doesn't matter. Just sew them together.  No matching needed, really, for this liberated look we are going for.


You are almost done...............now just trim the blocks to the desired size. I decided to trim my blocks all to 10.5 inches high and various widths. This will make it easier to assemble the quilt in the end.


Here are my finished blocks!  I am pleased with the way they turned out. Each cross will be a little bit wonky for an interesting quilt.  I had to force myself to quit sewing. These were so much fun to make.  I don't know how many I need really.  Surely I'll get tired of making them sometime!
Thanks, Joan, for inviting me to join in your quilt along....I'm lovin' it!

And now, for the news you've all been waiting for:  The winner of the Boxer Give Away! 
The winner is Jennifer from That Girl......That Quilt. I'll send you an email and get your address so I can get the dog.........er, I mean undies and charm pack in the mail. Congratulations! Jennifer, who'se loving grey, yellow and purple color combo right now, is wanting some boxers to replace the ones her husband took over after her own trip to Target for some Liberty of London love! Thanks, everyone for the nice comments and messages.  A special thanks to those of you who became a follower.  You're awesome! 
Piecefully,
Carla

Monday, April 5, 2010

A Pair of Boxers and a Give-Away

You decide.  Which one of these boxers is the cutest?  I'm going to give one of the pair away.  If you choose the dog, then you will have to wrestle her away from my granddaughter, Lula.  She will cry.  So, maybe you would rather have the men's boxers made from Liberty of London fabric.  I snagged them from Target recently. Remember this post?


My boxers were made from fabric with cute little cars.  I thought you might like to see how I cut up the underpants to make myself a couple of fat quarters of fabric (at least)  to add to my stash.


First thing to do is cut off the waist band. 
Maybe you can think of something to make out of it. I thought of a belt....add a D-ring perhaps. Let me know if you come up with something cute.


I used scissors to cut along the seams to dismantle the boxers.  That seemed quicker than using a rotary cutter.


Using  a seam ripper to remove the hem will only take about 6 minutes and will give you several more inches of fabric. Press the hem out once you "frog stitch"  (rippit, rippit....get it?)


A pair of boxers in shreds..........................


........can produce quite a bit of fabric!


Fold it up real pretty and tie the package with one of  the seams.  No one will ever know what "shop" you purchased your new fabric from!


Liberty of London..........ready for my next project!


                                           Wanna win a Pair of Boxers for yourself?
This is my tenth post so I want to celebrate by sending these cuties to one of you!  I've been on an aqua and green kick also recently, so if you are the winner,  I will also include a "custom charm  pack" of 20 different aquas and greens from my stash.  Who can resist free fabric?


To enter, leave me a commment telling me your current favorite color combination.
If you become a follower or are already a follower, I'll enter your name again.
Give-Away ends Friday, April 9 at 6 p.m. when Lula, the Random Selector, will draw a winner!
Thanks for reading my blog!
Carla

Thursday, April 1, 2010

Award Winning!

Guess What!  I just got notified that my latest quilt has won an award!!


The fabric selection won special mention in the "wild safari" catagory.


Innovative piecing was given special notice.


Creative use of "spare parts" caught the judges' eyes.


Unusual use of many different fabrics, some quite out of date, was given two thumbs up............. kind of quilting green, you might say.


What's the award, you are wondering?  Well, of course, it's the annual
                                   UGLY QUILT AWARD, given every year on
                                                     
                                                            April Fool's Day!!


Do you have one uglier?  Send me a picture, I'd love to see it.  All is not lost, though.......the daffodils are lovely and I just know that a young boy in Rwanda is going to LOVE getting a quilt with lots of safari prints and animals on it.  I'm counting on it!