Showing posts with label Tutorial. Show all posts

Thursday, August 21, 2014

Scotch Tape Zipper

Do you get hives just saying the "Z" word? 
Maybe I can help!
Keep reading....
 Step 1: Using a basting stitch, make a seam where your zipper is to go. Finish the rest of the seam with a regular stitch length, back stitching at both ends. 
 Step 2: Press the seam open. Lay your zipper face down onto the seam. (If your zipper is longer than you need, you can shorten it by making a little thread stop, like I did below, and then cut off the extra length.)
 Step 3: Unzip the zipper completely and pin one side of the zipper tape onto the open seam being sure that the teeth of the zipper are centered over the center of the seam.(Note: You are pinning it to the seam allowance only!)
 Step 4: Using a zipper foot, baste the zipper tape (that you just pinned) onto the seam allowance, as shown below. Please notice that you are not stitching through to the front of the garment....just to the side of the open seam.
 Step 5: Now, close the zipper and look for a roll of scotch tape! Lay the garment out flat and tape the zipper down as well as you can. (I used green washi tape to demonstrate so that you can better see how to do this. Since you will be sewing through the tape, I think scotch tape works better for this step, however.)
 Step 6: Turn the garment to the right side and stitch evenly on both sides of the closed seam, catching the zipper as you sew. The zipper foot allows you to get close to the zipper teeth. I try to stitch about 1/4 inch from the seam line on both sides, stitching across the bottom of the zipper.
Step 7: You are almost finished.....Take your seam ripper and carefully remove the previously basted center seam, being careful not to cut the fabric. (You will need to pull out the basting threads. If you are really clever, and used a long enough stitch, you may even be able to pull it all out in one piece!)
Remove the tape. BAM! You're done!

Thursday, January 2, 2014

Word of the Year- Priorities

Last year I chose the word 'finish' as my word for the year. I found it quite motivating to keep the word in mind as I went about my daily life, especially in regards to my quilting.(More on how that word influenced 2013 later.)
With the start of a new year I wanted to find a new word to guide me in my commitments and goals. After contemplating several choices, I've landed on the word PRIORITIES for 2014. Really, priorities encompass almost every choice I make, whether I acknowledge it or not. My goal is to think more about saying "yes" or "no" to how I live my life in every area.
 So, to start out the year with a 'bang', I thought that I'd fulfill a priority to share more blog tutorials front and center today! If you'd like to know how I made the simple "Word" Bunting above...read on!
Materials: 
Linen fabric cut into a 6 1/2 inch strip
Tag board stick-on-letters
Jute string
Triangle ruler
Start by pressing the linen fabric in half lengthwise and, placing the wide edge of the triangle ruler on the fold, cut as many triangles as you need to spell your "word".
 Next, using matching thread, sew a casing along the top of each triangle. You can chain stitch the triangles and be done super fast with this part. I didn't even back stitch.
 Thread a long piece of jute onto a bodkin (or safety pin).
 Pass the jute through the casing on each linen triangle.
 Press on the letters to spell your "word" 
 and tie a knot at the beginning and end of the word to keep it in place.
 Done! These are cute hanging along curtain rods, mantels, book shelves, bulletin boards...wherever you need reminding of the priorities of life!
I think that I will make a bunting that says "Priorities" just to keep me motivated all through the year to keep things straight!

Do you have a word of the year for 2014?

Tuesday, September 13, 2011

Leap Frog Explorer Carrying Case and Tutorial

Two of my grand children have Leap Frog Explorers. (They call them their IPads! ) Recently, when Ezra spent several days with me, we decided to  create a little carrying case to protect the "IPad" and hold his games. It's a quick and easy project.
I let him pick out two 5" charms from my recent I Spy  charm exchange to use in crafting the carrying case. Not surprising, he chose footballs and baseballs plus black for the fabrics.
In case anyone else has a kiddo in need of a carrying case for his Leap Frog Explorer, I thought I would do a little tutorial of how I made this one for Ezra (and his cousin, Haven).
You will need:   2 charm squares--5"x5" each
                            4 background strips--5"x 2"
                            4 background strips--8"x 3"
                            2 lining rectangles--8" x 10"
                            2 strips for inside pockets--4"x 8"
                            1 strip for handle--2.5" x 8"
                            2 scraps of batting--8" x 10"
                            1/4 yd. sew-in velcro
                          
Step one: Create a square in a square block for both the front and back of the bag by sewing the 2"x 5" strips to the top and bottom of of the charm square. Then sew the 3"x 8" strips to the sides to form the front/back.

Step two: Layer with batting and lining and quilt as desired. Trim the quilted front and back pieces down to 7"x 9" rectangles.
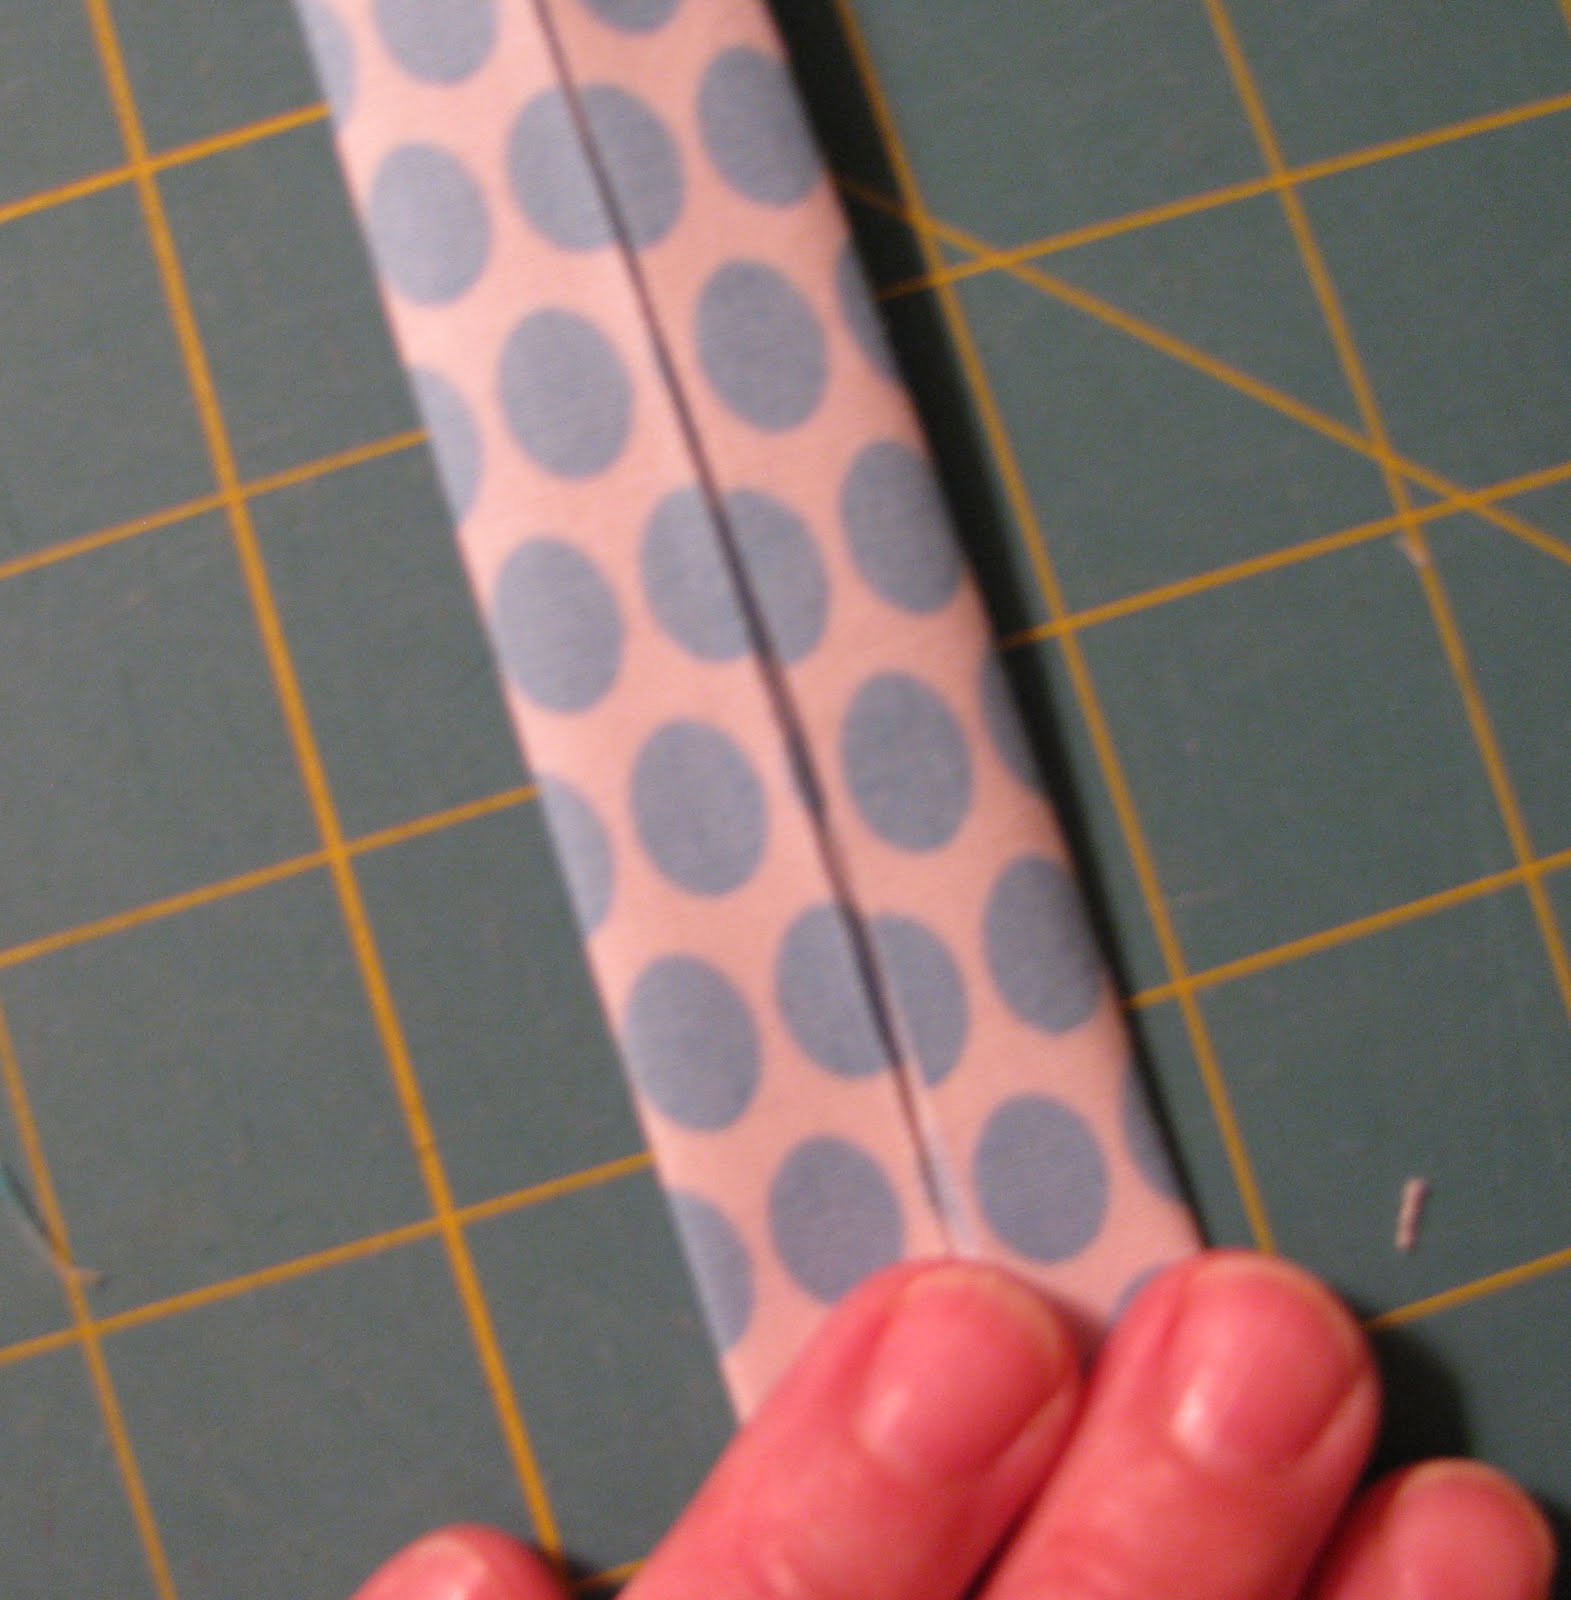
Step three: To make the handle, fold the sides of the handle strip to the center, then in half. Topstitch. 
Step four: Fold pocket fabrics in half lengthwise and stitch a 1/4 inch seam along the edge. 
Turn and press.

Step five: Fold in the pocket ends. Place the pockets on the lining, 2.5 inches from the bottom. Stitch along the sides and bottom of the pockets. You can make 3 little sections in each pocket for holding games, by stitching 2.5 inch from each end. (Use bobbin thread that will blend in with the quilting on the front of the bag.) 
Step six: Attach the handle from step three onto one side of one bag part as shown. Be sure that you are sewing it onto the front side rather than the lining side of the bag.
Step seven: With right sides together, sew around the sides and bottom with 1/4 inch seams. Finish the seam with a zigzag stitch. 
Step eight:  Now make a mitered corner on each end of your bag by folding the bottom seam to the center of the side seam and stitching across the end about 1.5 inch from the corner, as shown below.
You are almost finished.....turn your bag right side out!
Step nine: Fold down 3/8 in. along the upper edge of the bag. Sew velcro along both inside edges of the carrying case. 
Look! You did it!!
Be prepared for requests for more games to fill those little pockets!
Awesome!

Monday, November 15, 2010

Border Wars

Are you like me and sometimes have a war going on in your head about whether to add a border to a quilt, and if you do, what should it be? Sometimes, no border is better but other times....  Do you feel a temptation to go the easy route and either ditch a border or just slap on any old thing and call it good, even when you know the quilt needs "something more"to make it fabulous? Surely, I am not alone here! 


My Hope Valley Hexagon Quilt is screaming at me for a border.  So, I spent some time over the weekend coming up with something fun and funky to fit both the fabric and quilt pattern. I'm pretty excited about it, actually, so thought I'd share my progress with you and maybe even some pictures of how I made it......
 Here's a section of one of the borders before I attached it.  You can see that it is made with random angles of the Hope Valley prints on a light grey background. There's no rhyme or reason to the spacing of the triangles
.
I'm getting ready to sew on the borders and add another little surprise.......  I think I'm gonna like it and am glad that the quilt won the war!


Here's how I made the funky border for anyone interested in trying it.


 First, I cut my Kona ash fabric 6 inches wide and then chopped it up into random lengths. Using scraps from the center of the quilt, I cut triangles in various angles by "eyeball". Some sections have only one triangle and others have a triangle added to each side.


Next, I pinned the triangles RST onto the background, folding the fabric back before I sewed it to be sure that it would completely cover the grey underneath. (Don't skip this part. Guess, how I know that!)


After sewing on the triangle and pressing, I turned the section so the background side was up and using my ruler and cutter, trimmed off the printed fabric even with the background.
The last step is to fold back the triangle onto the front and cut off the background underneath to make a nice quarter inch seam allowance and eliminate bulk.


Here's my finished section.


I continued to add small sections until my border was the length I need. That's it!  So fun to make!  Better run.... I hear my machine calling!

Sunday, September 12, 2010

Fitness Friday on Sunday 4 and a tutorial!

Eighteen. 
 That's the number of pieces of fabric I got to add to my blocks for the Improv(E) Your Butt fitness challenge.  I don't think I'll reveal how many weeks it took me to add that measly number.  I'm not very proud of it, that's for sure, but, hey, today is the beginning of a new week! The pretty weather is perfect for walking, so I'm planning to do better.
 A few weeks ago, I promised to show you how I am making the bricks I'm using to make my Improve(E)  quilt. Here we go: These are the bricks in all their glory.......(whatever) They measure 3.5 in. X 12.5 in.
Here's how I made them:  For each brick I need 1 brick fabric that measures 3.5 in. x 12.5 in. and 1 background fabric measuring  3.5 in. x 4 in.  I cut the background in two at an angle.( I vary the angle and measurement for each brick.)
Next, I lay the two background parts onto the brick, extending at least a half inch past the end of the brick. Note that the angled end is toward the inside of the brick.
Then I lay a ruler along the edge of the background piece and cut the brick at this angle.
Remove the cut-off section of brick from underneath the background. Flip the background over onto the brick and pin. 
Then stitch the background sections to the brick. (Sorry about the change in fabric there!)
After pressing, It's simply of matter of trimming the block to 12.5 inches and your done!


It only takes a few minutes to make each brick....a lot less than it took me to walk the three miles to earn the three pieces of fabric!
How are you doing on your fitness program?  You can join the Improve(E) challenge at any time!


Friday, April 9, 2010

Liberated Cross Blocks


 Blame it on my friend, Joan.  I'm starting another quilt!  I just couldn't resist when she put out the broad invite to join her at Wishes, True and Kind in a quilt along with Heather from A La Mode Fabrics. Her fabrics and blocks got me from "virtual hello".   Once I was hooked, I realized however, that I didn't even know how to make the  cross blocks for the mini quilt along. She and Heather are going by a pattern that I don't have. But, hey!  In my effort to be more "liberated", I have decided to just wing it!  What follows is my rendition of the cross block and how I am making them.  And Joan is right..............They are ADDICTIVE.  Good thing they don't contain calories!!

I've been collecting some solids from Kona and Moda and decided this project would be perfect for the yummy greens, aqaus, yellows and white that keep showing up in my solid container.
First, I had to decide what size to make my blocks. For fun, my blocks will all be the same height but vary in width. I cut my fabrics 12 inches high and "whatever" width, layering two fabrics when I cut.


Next step was to make two cuts across the "middleish" of the block, making the cross bar. No measuring allowed.  Just eyeball where you want the cross on the block.


Seperate the top and bottom from the middle section and eyeball two cuts on each to create the vertical cross bar.
Note: I did not cut through the middle cross section. So, there are now 7 patches to this block. Because there are two layers of fabric, I have cut two blocks at once.  Now, for the magic:


Carefully remove the top fabric from the "cross" sections and place the 3 parts next to the original block forming a cross. In this case, the parts are aqua, leaving the white underneath cross behind.  Now, move the white underneath fabric from each of the four remaing sections and place them on the second block, being careful to keep each in the same positon.


PIn and sew the upper sections of both blocks together.  I placed a pin in the upper cross section next to the middle to mark it's postion on the block.( I think you can see the pins in the picture if you look carefully.)


Now, sew the bottom sections together in the same way, being careful to keep the parts in the correct postitions. The pin  markers help to do that.


Pin the upper and lower sections to the cross bar, centering them and sewing together. I pressed all the seams open when making this block, by the way. Note: The upper and lower secions will be shorter than the middle cross bar.  Doesn't matter. Just sew them together.  No matching needed, really, for this liberated look we are going for.


You are almost done...............now just trim the blocks to the desired size. I decided to trim my blocks all to 10.5 inches high and various widths. This will make it easier to assemble the quilt in the end.


Here are my finished blocks!  I am pleased with the way they turned out. Each cross will be a little bit wonky for an interesting quilt.  I had to force myself to quit sewing. These were so much fun to make.  I don't know how many I need really.  Surely I'll get tired of making them sometime!
Thanks, Joan, for inviting me to join in your quilt along....I'm lovin' it!

And now, for the news you've all been waiting for:  The winner of the Boxer Give Away! 
The winner is Jennifer from That Girl......That Quilt. I'll send you an email and get your address so I can get the dog.........er, I mean undies and charm pack in the mail. Congratulations! Jennifer, who'se loving grey, yellow and purple color combo right now, is wanting some boxers to replace the ones her husband took over after her own trip to Target for some Liberty of London love! Thanks, everyone for the nice comments and messages.  A special thanks to those of you who became a follower.  You're awesome! 
Piecefully,
Carla